How to install corrosion coupons and access fittings
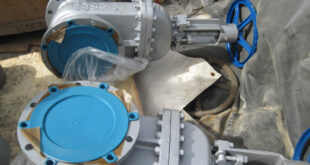
Installation of access fittings
1- Open the lid.
2- Loosen the plug with a suitable wrench and then remove it completely from the fitting with your hand.
3- The empty fitting should be installed on the pipe (for the welded type, it is welded on the pipe and for the flange type, it is connected with a suitable bolt and nut and using a suitable gasket).
Note 1: The operation of the fitting installation on the pipe must be done in the condition of the line without pressure and clean of dangerous fluid. Installing of access fittings in working conditions is dangerous.
Note 2: The gasket must be suitable for the relevant line pressure.
Note 3: The method of welding on the pipe should be done according to the standard desired by the client.
Installation of the coupon holder and coupon:
1- With a suitable wrench, the screws on the end of the solid plug nut are opened and then the nut is opened and removed from the end of the plug.
2- Install and mount the coupon holder on the screw at the end of the plug – instead of the opened nut.
3- Tighten the screws of the holder with a wrench.
4- The appropriate coupons are taken out of the envelope, the serial number and its weight should be noted.
5- The relevant coupon of any suitable type should be installed and tightened with a holder.
Note 1: It should be ensured that the relevant packing and ring are installed in their place.
Note 2: For the adjustable holder, the length of the holder should be opened and adjusted according to need.
Note 3: The coupon envelope should be kept for later use and to compare the corrosion rate.
Installing the plug inside the fitting:
1- First, make sure that the plug ribs are clean and free of foreign objects.
2- The plug is mounted along with the holder and the coupons are installed, it is inserted into the relevant fitting and the plug is turned inside the fitting by hand and tightened.
3- At the end, tighten the plug inside the fitting with a suitable wrench.
Note: It should be ensured that the plug is closed all the way and no extra rounds are left out. Because otherwise it will cause leakage.